Showing posts with label DIY. Show all posts

Accent wall home addition

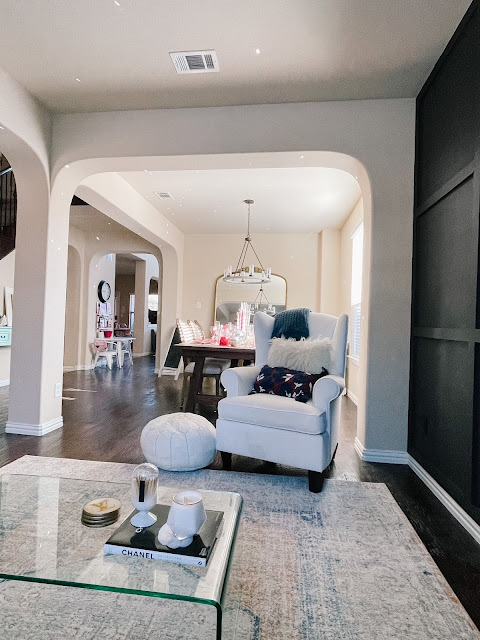
I have been eyeing this wall for over a year and have been wanting to add an accent wall. I had originally planned to paint it white but decided a dark accent wall would make such a difference and it did I am in love. I could not be more happy with our contractor and how it turned out. They even moved our outlets and attached black ones!

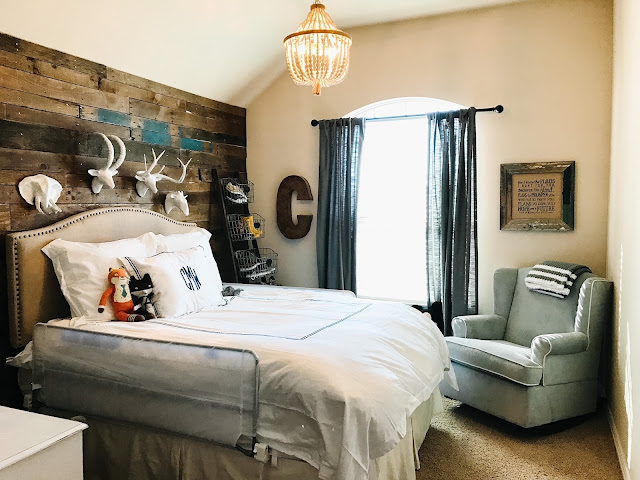
Since they were here I had been wanting to paint Cayson's bedroom accent wall black and I am obsessed, amazing how it transformed his wall too. Can't wait to find him the perfect new comforter.

Paint: Sherwin Williams Iron Ore

Paint: Sherwin Williams Tricorn Black

See how Cayson's room transformed over the years!
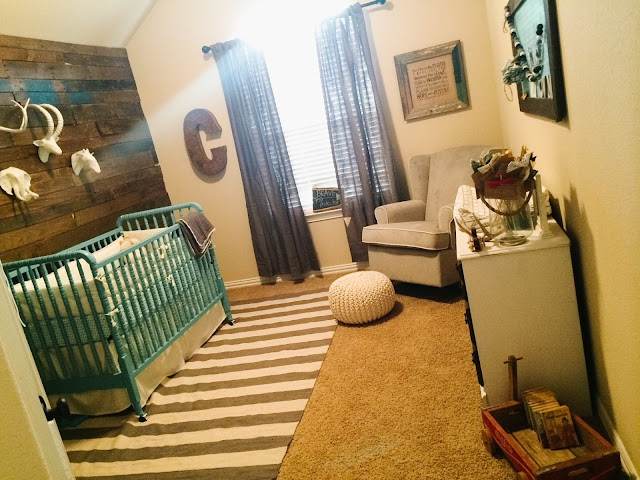
Newborn nursery

Transformed toddler room 

And another view...my Anthropologie mirrored made all the difference as well!


Bathroom remodel

A cracked sink turned into a full bathroom remodel this past month. I needed to replace the sink and we decided while we were at it we should update this room and I could not be more happy. When we built our home 10 years ago the style was 1000% different than it is now. This bathroom was brown, BROWN, haha and dark. I'll add a before picture at the bottom. We are slowly lightning up our home and I'm in love. We had painted this room white and changed out the mirror and hardware about a year ago and the new tile and baseboards just finished it off! I'm obsessed. Now I want to retile my whole house!!

Hexagon tile (linking a slightly cheaper porcelain tile, I went with marble because I loved the look and quality)
I just old my contractor I wanted a dark grey grout...I would also have loved white but this bathroom is too high traffic of an area for that!


My white Aglow candles arrived and I'm loving them! Now I just need their flower holders:)

Next plan is to paint this wall and add some board and batten! Now to just find the hubs time to finish it. My next goal will be to change out that brown mirror for the gold Anthropologie floor mirror and change that sign and probably change the white shelf for a gold bar cart. 

SO bad am I right?! Favorite transformation yet;)


Easy Playdough recipe


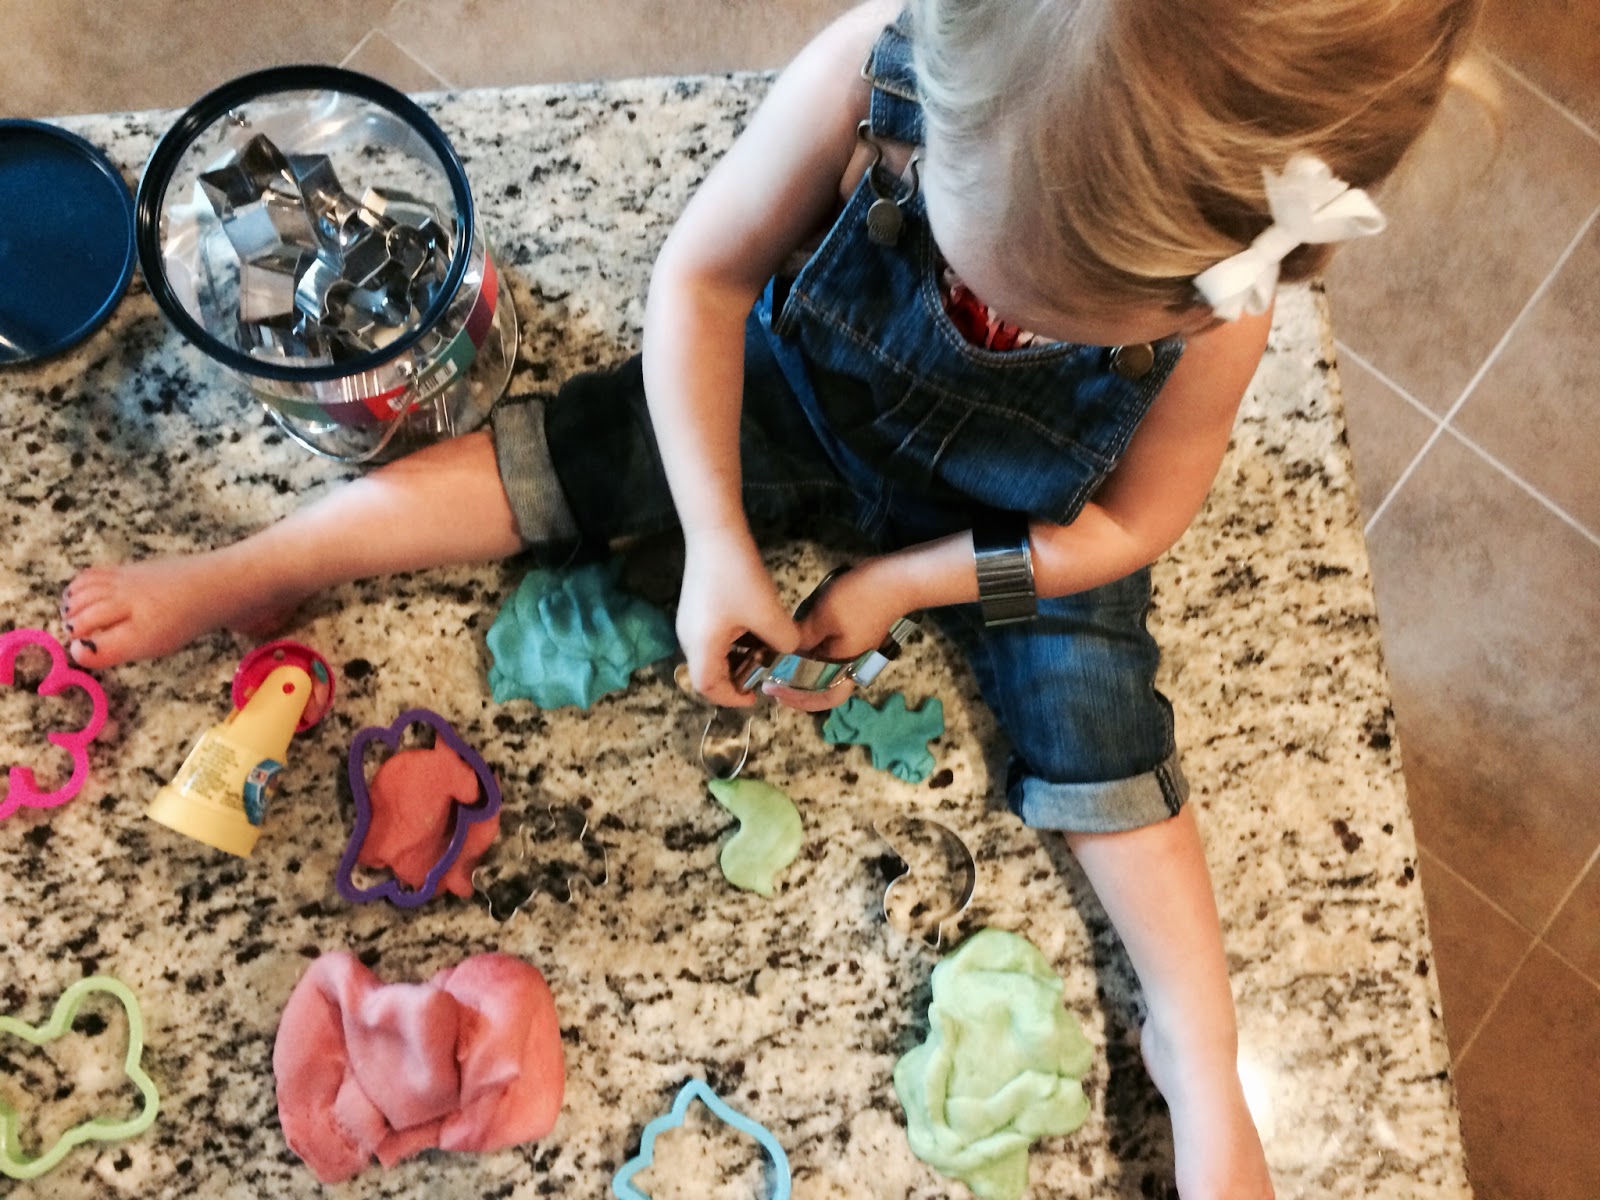
My kids have been begging to make playdough again and I don't know why it took me so long to give in. It is so quick, easy and adorable obviously;) We added in some essential oils to make it smell amazing and food coloring to our liking;)


Playdough recipe

2 cups flour
1 cup salt
2 tsp cream of Tartar
2 cups cold water
1 tbsp oil

Directions:
Combine above ingredients in medium saucepan
Stir for about 5 minutes over medium heat until obtains playdough consistency. 
remove from heat
Separate into section (if adding in food coloring or essential oils)

We added some blue gel coloring and 5 drops peppermint oil.

Get creative and have fun. Stores well in mason jars!


Salt dough ornaments

We made the cutest salt dough ornaments this year and I am in love. Love this cute idea I found from this sweet momma, everything she does is magic!

Easy recipe. It makes tons so if you don't want a lot I would 1/2 this recipe. Also, our Santa hands were thick and took closer to 3 hours to cook:) Happy crafting!

Salt dough ornaments

4 cups all purpose flour
1 cup of salt
1 1/2 cups warm water

Cut out designs. Place on cookie sheet. Bake for 2 hours at 200 degrees. 
 
Elfie brought more ornaments to decorate


The ornament aftermath!! SO fun!! Addi was actually so good. Need to get close up of her sweet ones!


Bathroom remodel

We finally did it. Operation goodbye brown bathroom finally complete. When we built our house it was still in the craze of paint all the rooms, luckily we did not paint ALL the rooms, just our powder bathroom. We painted it a dark brown (why, poop?! ha), didn't think that through and I actually liked it until I just didn't. I honestly always hated the original mirror I picked and should have replaced it, but you know, time!! I have wanted to redo for several years now and we finally made it happen. I absolutely LOVE it and am SO thankful for my sweet hubby and all the labor and YouTubing he had to do to get it done! This confirmed that we shouldn't buy a fixer upper, we just don't have the time or energy and 3 little helping hands makes projects extra difficult these days!


While he was at it he finished this little back pack station in our study/craft room...I was tired of backpacks all over the floor. I absolutely love it...#organization is life


Valentine, You are eggcellent!

My kids, along with every other kid their age are obsessed with Hatchimal eggs (well and LOL dolls) so when I saw these cartons of Hatchimals on Amazon and at Target I thought...hmm, those would be cute Valentine's gift ideas. I grabbed 3 sets of the Hatchimals off Amazon, ordered these cute custom stickers off Etsy, and grabbed these cute bags from Target.  I have a Silhouette and could totally have made my own stickers (so you can if you are crafty, it would be so quick), but hashtag working mom of 3 kids over here, so I ordered mine;) She was so easy to work with and my stickers came in less than a week:) SO quick, easy and the kids love them.

My little helpers 

Carving Pumpkins

More Halloween week fun....Can you believe I just carved my very first pumpkin?! Seriously, at least that I can remember. We never did it growing up and I have always wanted to do it and I guess just always ran out of time...I mean I literally wasn't quite sure what I was getting myself into...it was so fun, eventful, entertaining with a baby and toddler but we had fun....advice though...don't pick a complicated Minnie as your first attempt and break the small knife and end up using a kitchen knife to finish;) it makes it far more difficult and you might have to squint a little to see that it is Minnie haha....


My sweet helper...


She was just loving blowing out the candle....haha....

DIY Wood Pumpkins


Supplies:
2x4-cut in various sizes
1x8-cut in various sizes
Chalk paint 
Tree limb cut in 1-2 inch cuts
Hot glue gun
Sponge brushes
Paint brushes

Wood: You can honestly use any piece of scrap wood you have laying around...these were pieces my hubby had left over from various projects...as you can see some were even stained which we loved.

Paint: We used this chalk paint in white and orange and mixed them to make different shades...love the finish they provided. This paint goes a long way so will last us for future project

Tree limb: We used some pine tree limbs (loved the look they provided) and some regular ole tree limbs;)

Gather your supplies...gather fun company, sweet drinks, and creativity inspiring music and paint to your hearts desire....Then using hot glue attach your tree limbs as stems...you can add moss around your stims or ribbon or leave plain:)


All our unique finished projects....love my sweet family and their creativity...


Aw....nothing sweeter than my family and some crafting!

DIY Essential Oil Play dough

We used to make play dough growing up and I loved it...such sweet memories, so I was so excited to make play dough with sweet Isabella. We added some essential oils for some added benefit...you could add any that you choose, we chose peppermint:)

Directions:

Combine above ingredients in medium saucepan

Stir for about 5 minutes over medium heat until obtains play dough consistently like below, then remove from heat

Separate into sections (if you want to add coloring and essential oils)

We added a little gel food coloring and Peppermint essential oils-slowly add to your liking

We first put it on wax paper and that proved harder than just right on the counter :)


And done....we put ours in adorable mason jars to store...my go to storage:)

Enjoy!!!

Crazy hair, don't care!!

DIY Plank Wall

Ever since I got pregnant the first time I have always said that if we had a boy I envisioned a plank wall behind the crib....the husband never questioned it once and took on this project with gusto when we found out we were having a boy this time.....here are the quick easy steps....hoping to finish up the nursery and will have to update this post with finalized pics:)

First, we collected pallets....we found ours from different new housing and construction areas...none of our local stores (Home depot, Ikea, or Costco) will give away pallets anymore they recycle them now. We had a sweet friend collect a ton for us in her under construction new neighborhood....we preferred newer pallets for bug/sanitary reasons....

Our full collection 

Then my sweet husband used this tool (a Sawzall) to remove the boards from the pallet....it was way easier than trying to pry nails off....


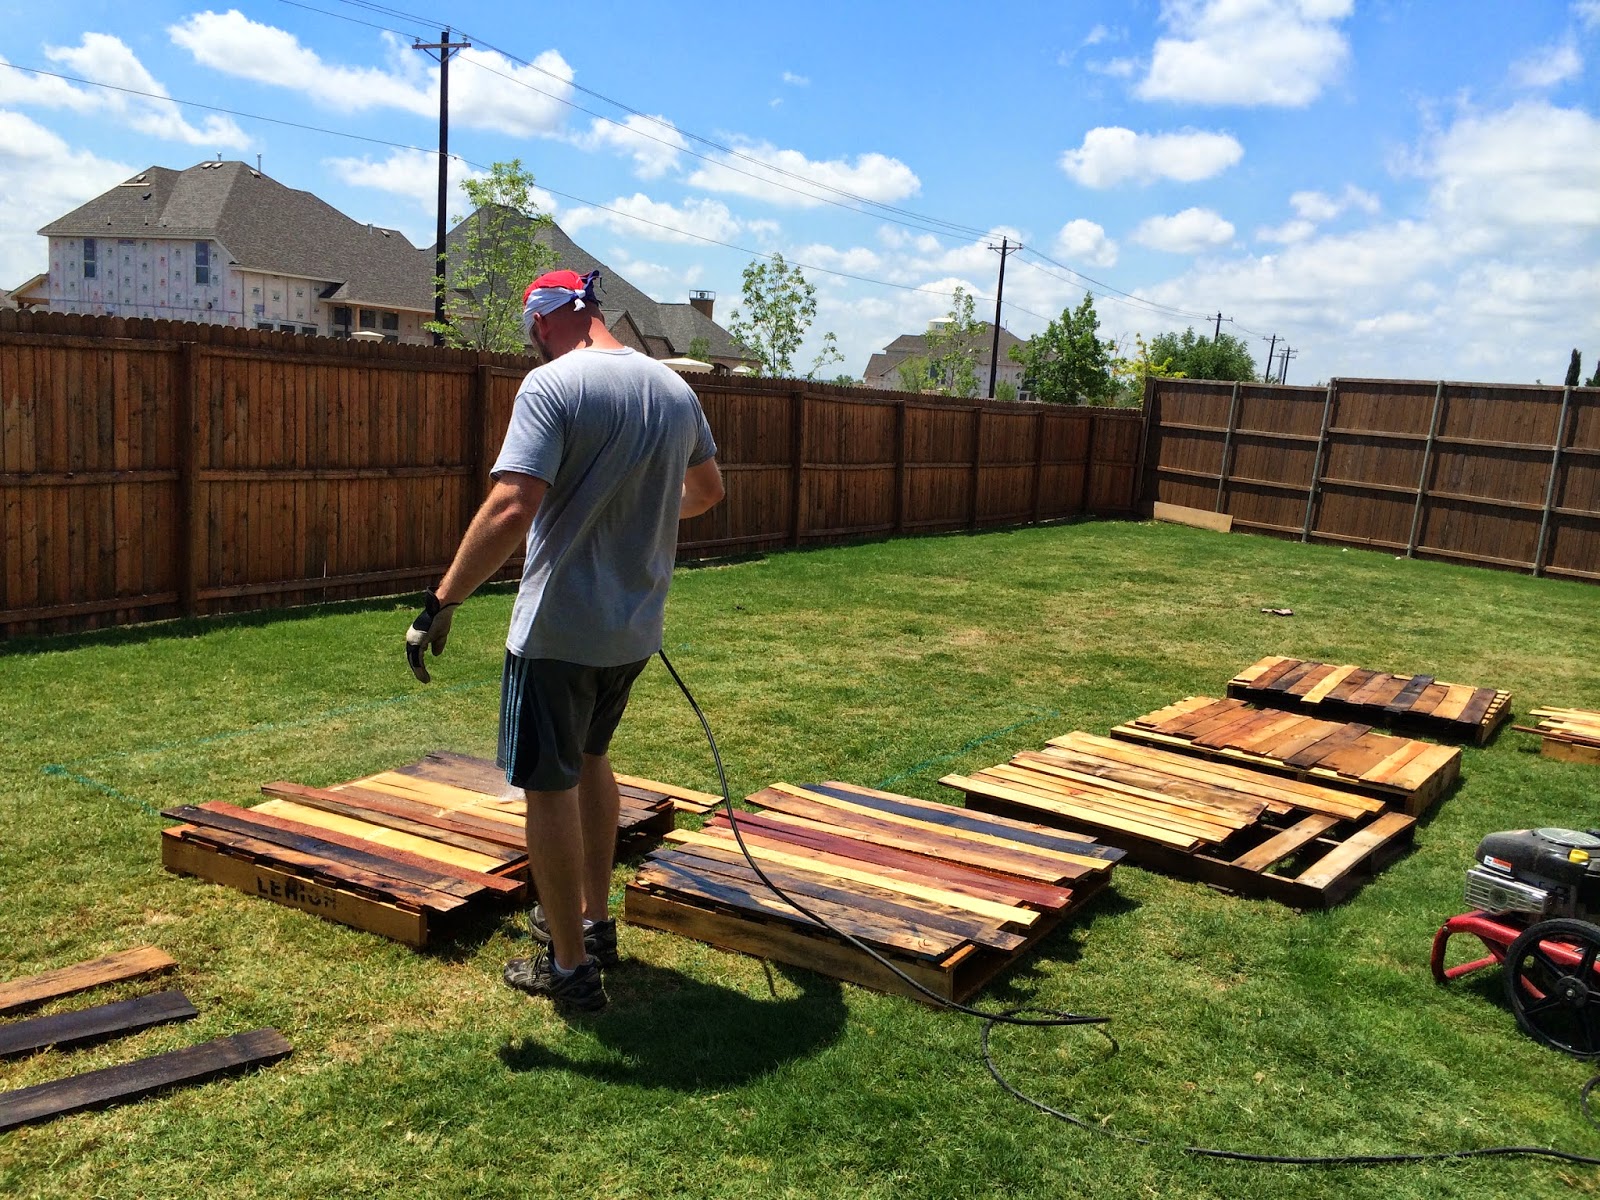
He is a genius and spray painted an area on our grass to match the wall size to make sure he had enough wood of varying sizes...

Then he power washed them with bleach water to make sure they were very clean (if you are using very old wood or barn wood I would recommend treating it for termites-just a suggestion)


Then the staining process began...he stained all of the pieces with a walnut stain (I wasn't able to help much since I am 7.5 months pregnant at this point) but he did amazing and didn't complain once


His little helper

Then he hung them...he used a nail gun to nail them directly to the wall...we chose not to paint the wall behind the wood but if seeing white behind your wood will bother you I would recommend painting it a dark color...I like the distressed, unfinished, imperfect look so we kept ours white...

Not sure what this mask is but he had to wear it to finish the wall haha!

Pretty excited about how it turned out...I will share final nursery pics when it is complete....the rocking chair should arrive today then just need a few last minute finishes....